Custom main menu tutorial

Tutorial for custom main menu using VS Picture Common Events and script calls & common events
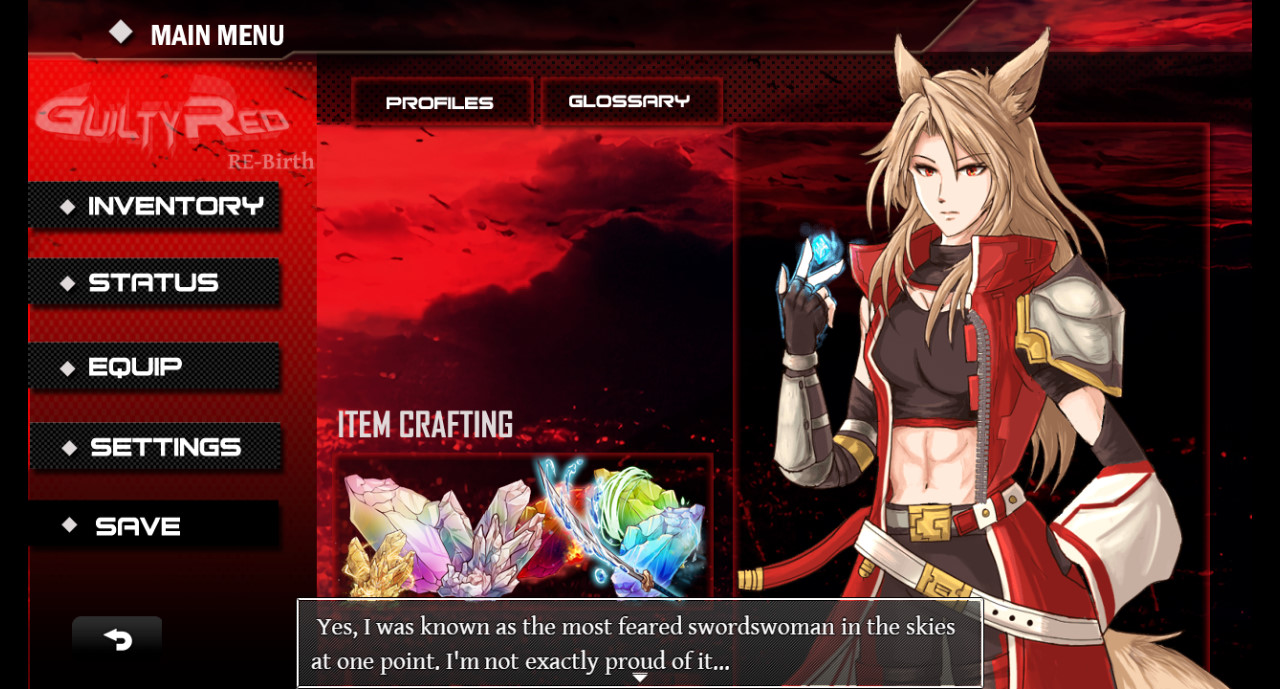
This tutorial will teach you to create a custom menu similar to the one in Guilty-Red, as seen below:
NOTE: This tutorial is for RPGMaker MZ!
Difficulty: Intermediate – requires that you are at least familiar with MZ, script calls, variables and how to use plugins.
Requirements:
RPGMaker MZ (obviously xD)
VisuStella MZ Sample Base Project (free and requires all the necessary stuff for later VS plugins)
VisuStella Picture Common Events
Graphics editing software like Photoshop or Paint Shop Pro (I used PS7 and PSP8 respectively). If you’re not using either, please use a graphics editor that supports alpha transparency (aka you can save a .png image with a transparent background)
Optional:
VS Visual Item Inventory
Step 1:
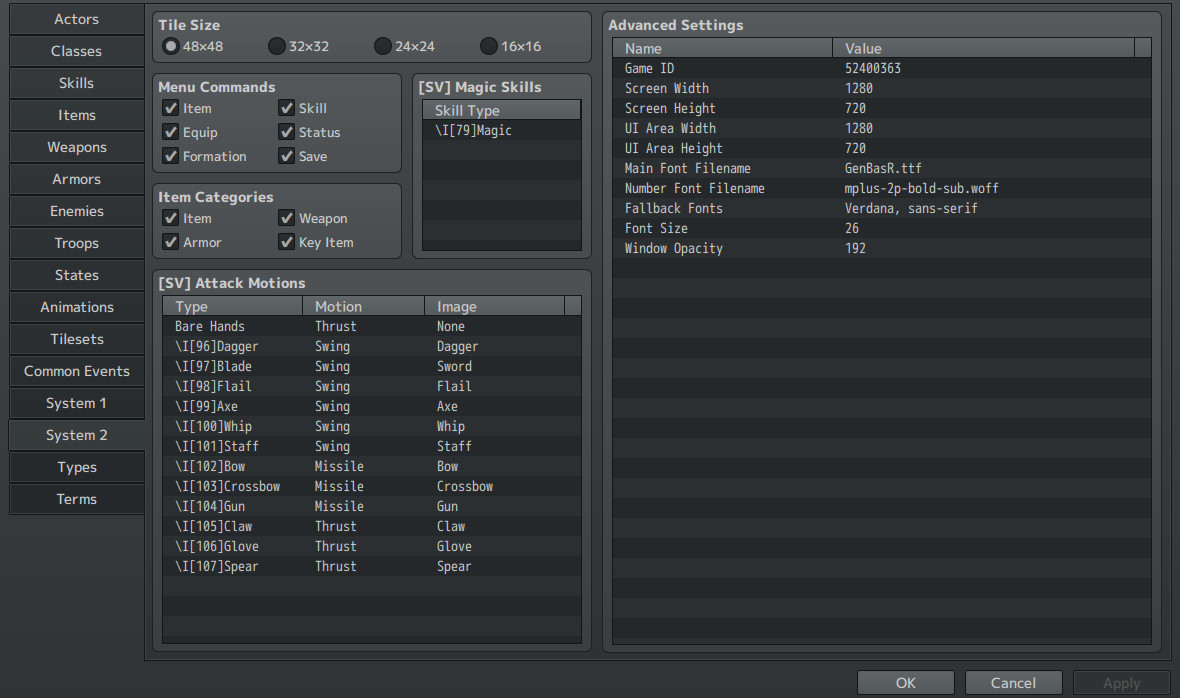
First, define your game’s resolution. This is VERY IMPORTANT. The VS sample game project defaults to 1280 x 720 so I went with that as well. But if you decide to go for a lower or higher resolution, define it under the System 2 tab.
Step 2: Setting up the graphics.
Note: I won’t be going into detail about how to create the actual visuals in Photoshop (maybe in a later tutorial).
First decide how simple or complex you want your menu to be. Remember, the VS Picture Common Event plugin can only handle 100 pictures. For simplicity’s sake, we’ll stick to a basic menu that shows the Inventory, Status, Skill, Equip and Save buttons.
Make your background the SAME SIZE as the resolution that you specified for your game. Otherwise you will run into issues. So if you defined your resolution as 1280 x 720, then the background image you created in PS/PSP/Clip Studio etc. needs to be 1280 x 720 as well.
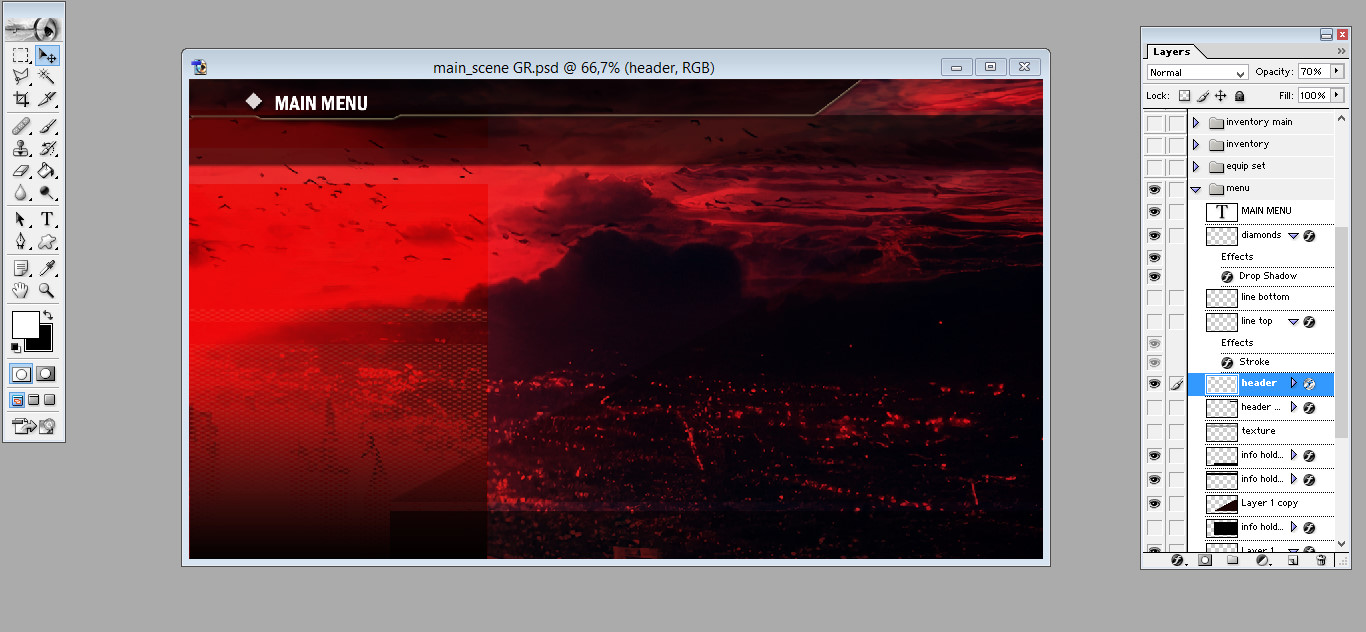
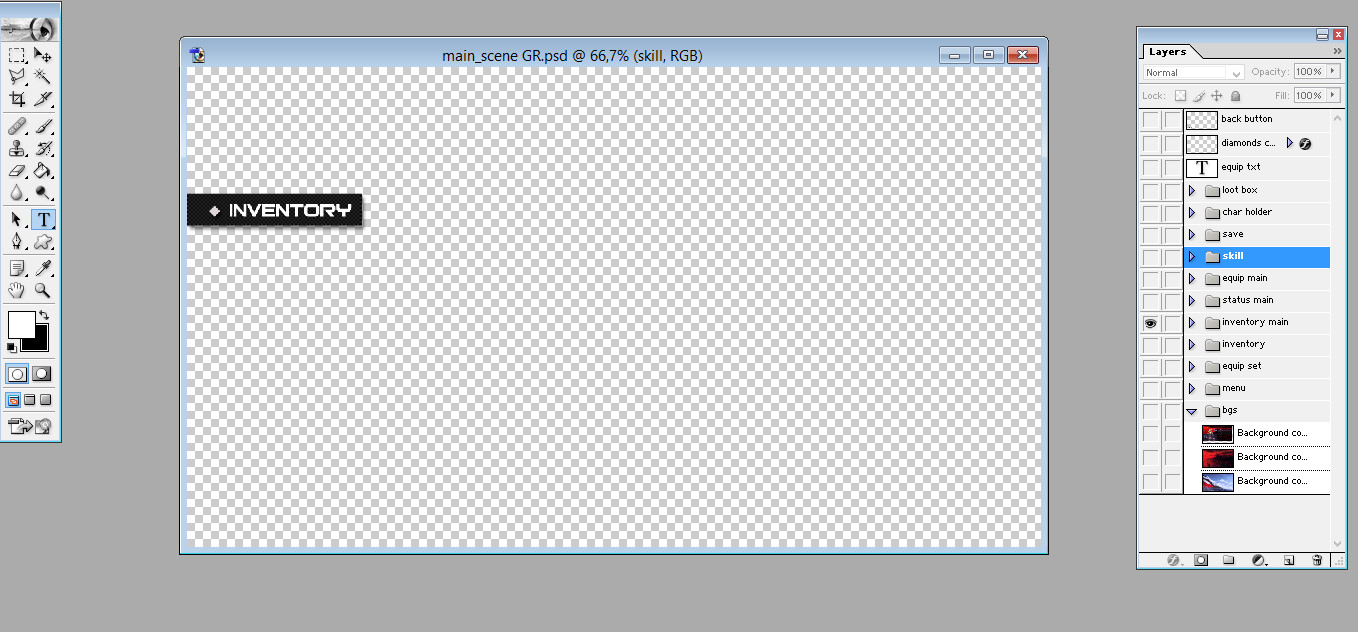
Then on separate layers, create the inventory, status, equip, skills and save buttons. Set up your Back menu buttons and menu call buttons as well. So you will have 8 buttons in total: Bg, inventory, status, equip, skill, save, exit and menu call.
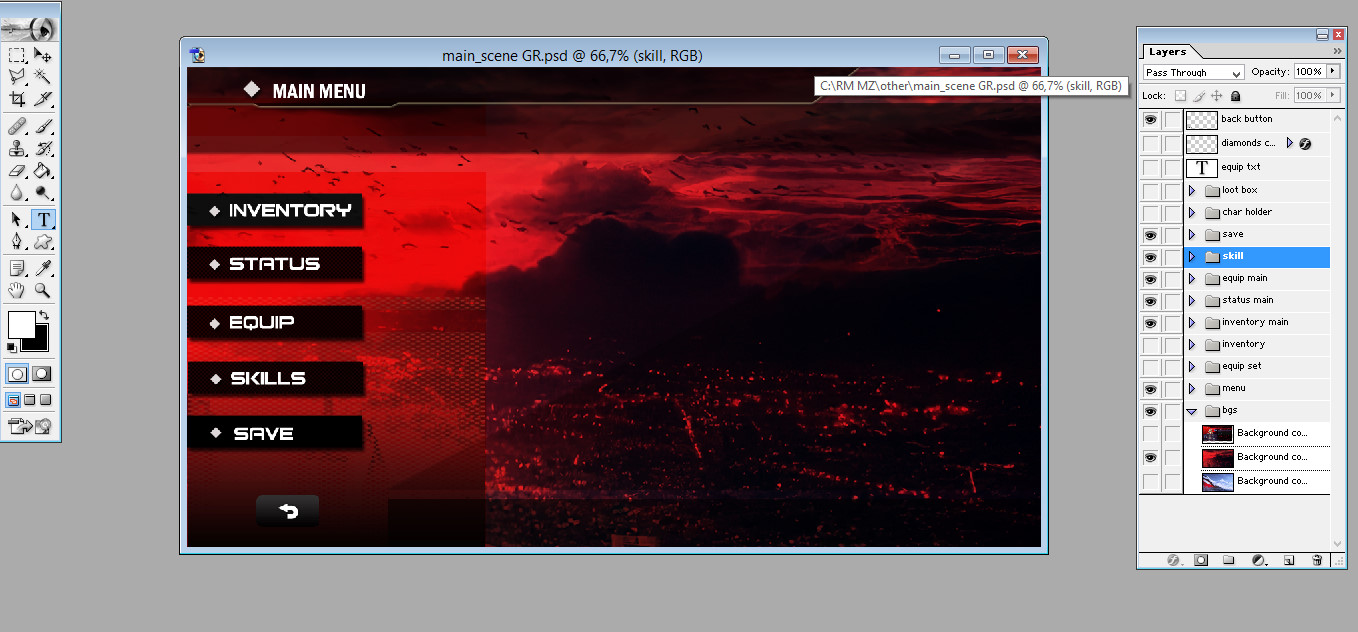
Step 3: Save the images as SEPARATE files.
Save the background image without the buttons (turn off the other layers) into your Pictures folder. Then save the remaining buttons individually so it looks like the above image. Name them what you want but make sure to name them in a way that it’s easy to find in your Pictures folder.
Step 4: Setting up your main menu.
Now that we have our pics set up in our Pictures folder, we can get down to the actual nitty-gritty! Open up MZ and navigate to your Common Events tab. This is where all the magic happens!
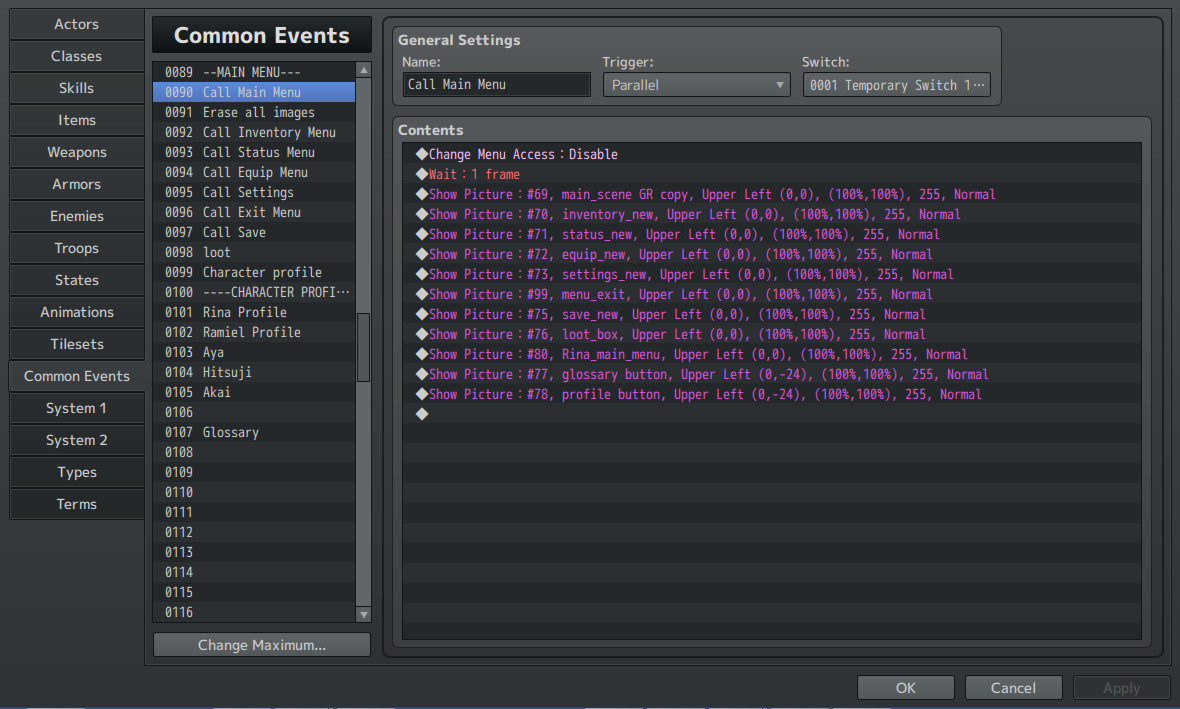
First of all, disable the main menu. Then assign numbers to your main menu pictures. I recommend high numbers from 70+ up due to the way RPGMaker handles picture priority (aka, pictures with low numbers are displayed at the bottom and vice versa.
So maybe 69 for the main menu bg, 70 for your Main Menu, 71 for Inventory, 72 for Status etc.
Step 5: Binding Common Events to your pictures:
This part can get confusing, so please take note of the numbers that you have assigned to each of your pictures. Write then down on notepad or something for easy reference.
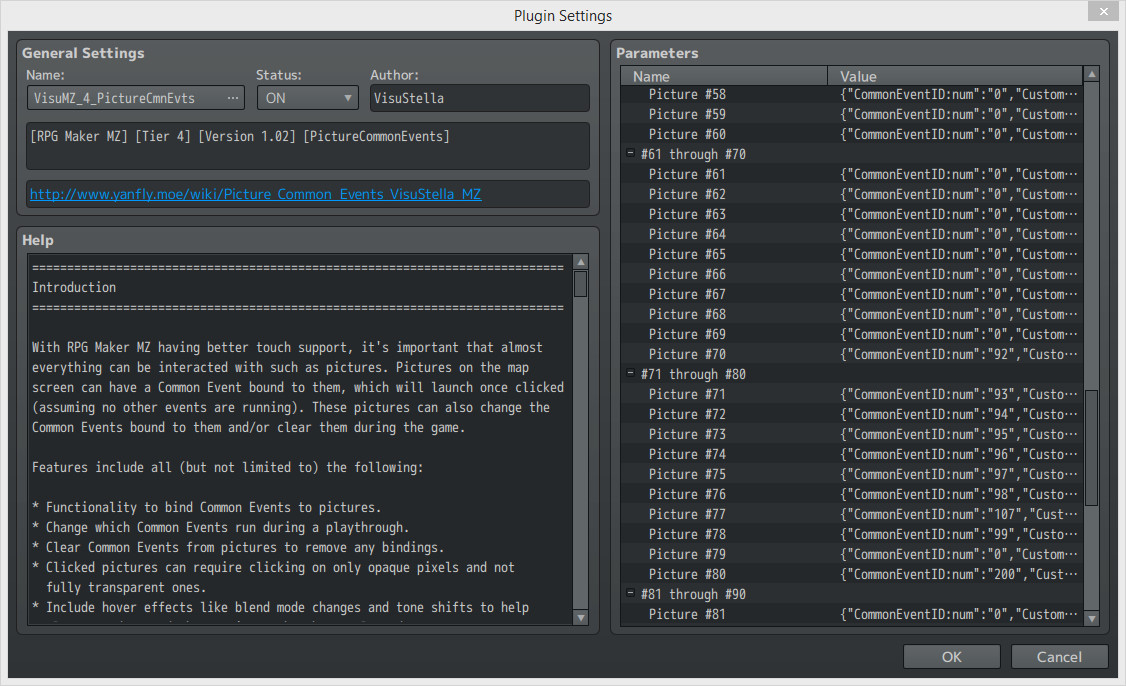
This is where the VS Picture Common Event plugin starts working its magic.
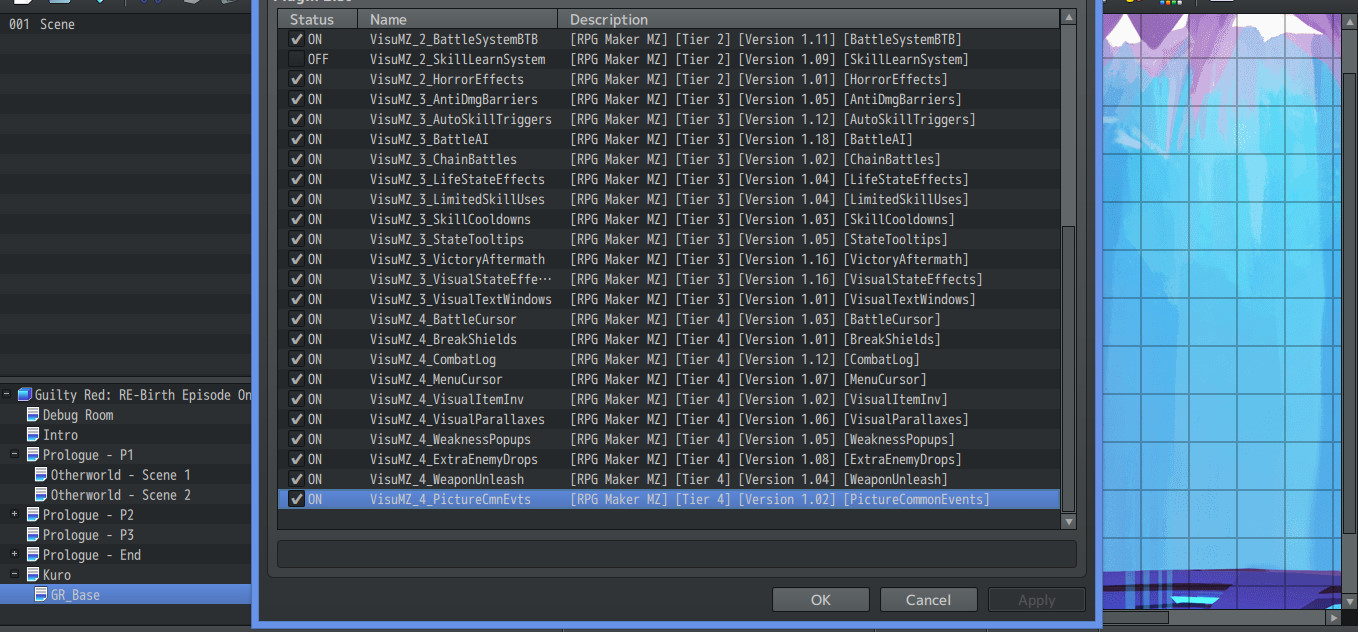
Because you will be referring to this plug-in a lot, put it right at the bottom of your plug-in list. It’s a Tier 4, so it doesn’t matter if it’s chilling at the very bottom.
Yes, it is a little daunting but don’t worry. It becomes pretty easy once you’ve done the first few Common Events.
Because Picture 69 is assigned to the main menu background, it has no common event attached to it, so it remains 0. So let’s move onto the next one, Picture 70, which is assigned to our Inventory.
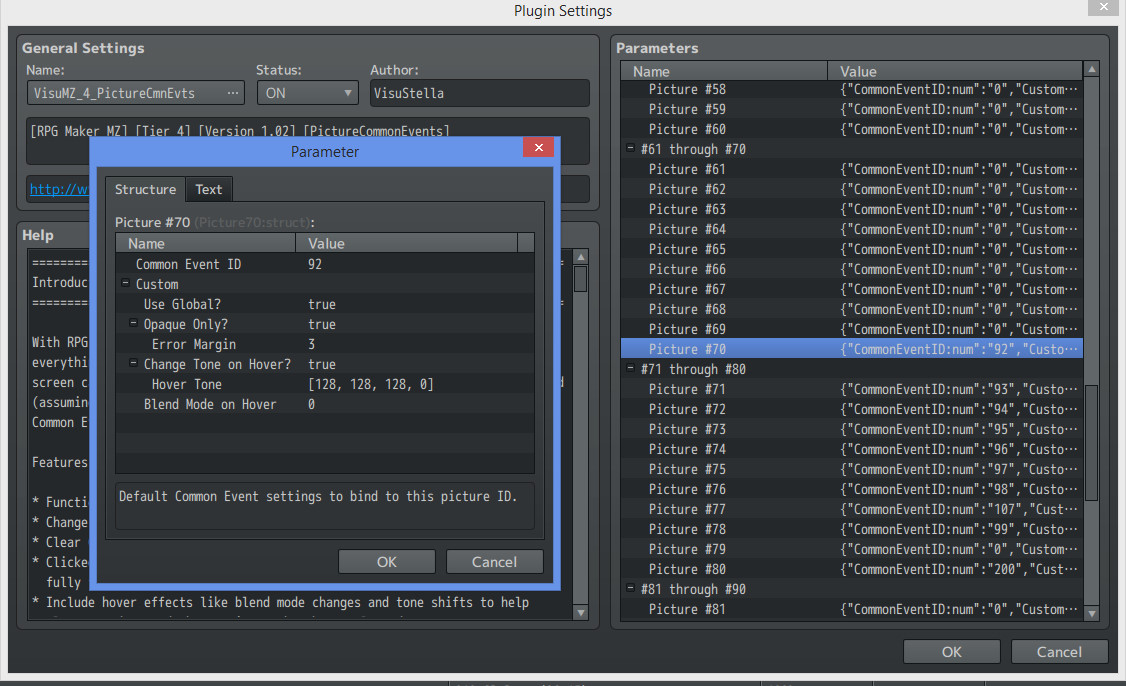
I have assigned Common Event 92 to it. So I go back to my Common Events tab.

Here are a list of all the script call functions that you will need:
Items: SceneManager.push(Scene_Item);
Skills: SceneManager.push(Scene_Skill);
Status:SceneManager.push(Scene_Status);
Save: SceneManager.push(Scene_Save);
Options: SceneManager.push(Scene_Options);
For the exit button use this VS plugin command:

Step 6: Calling the main menu.
Wait, my main menu is disabled, How do I pull it up??
Simple, really. Create another image in Photoshop, call it navi_menu or whatever you like then save it in your pictures folder.
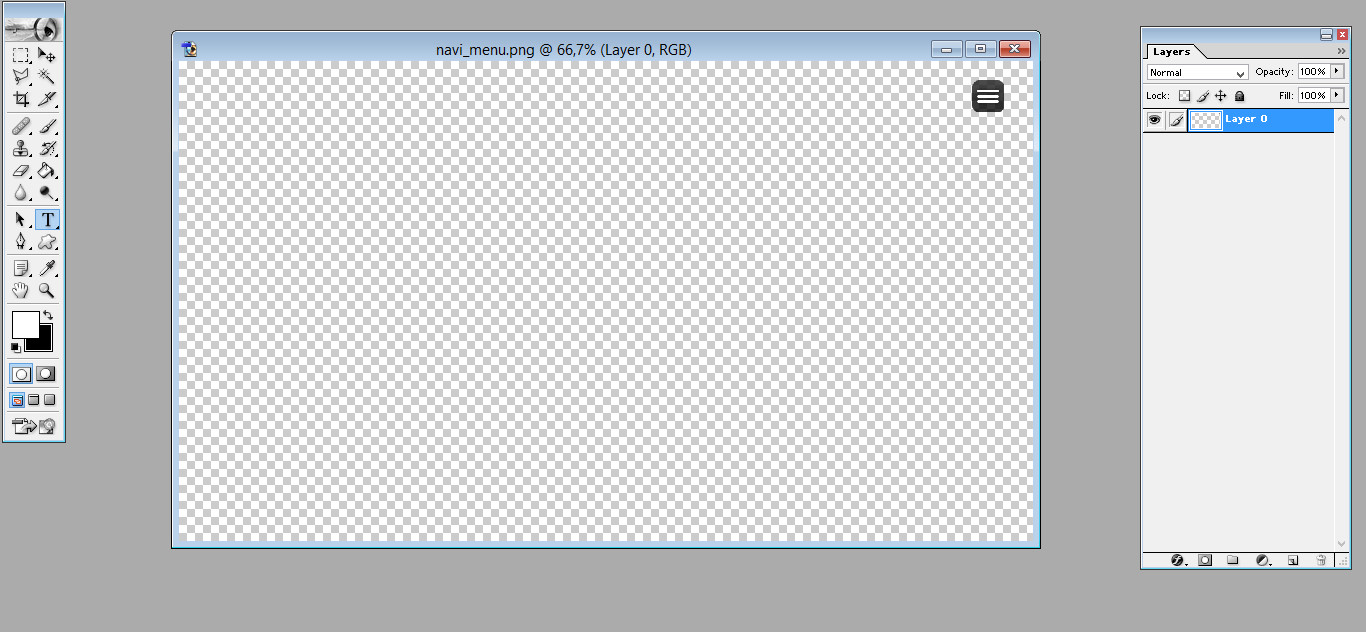
Then bind this image to your Main Menu Common Event by using the VS Picture Common Event plugin. In this case, it would be Common Event 90.
Step 7: Test your game!
If you did everything right, then congrats! You’ve just made a fully custom menu!
Leave a comment
Log in with itch.io to leave a comment.